How To Thaw Frozen Pipes Safely
Step-by-step guide to safely thawing frozen pipes, locating blockages, and preventing burst pipe damage during winter.
Frozen pipes display 3 primary warning signs: reduced or no water flow, visible frost on exposed pipes, and unusual odors from drains. Water flow reduces to a trickle or stops completely when ice blocks the pipe interior. Frost accumulates on exposed pipe sections in basements, crawl spaces, and along exterior walls. Foul sewage odors escape from drain pipes when frozen blockages prevent proper venting.
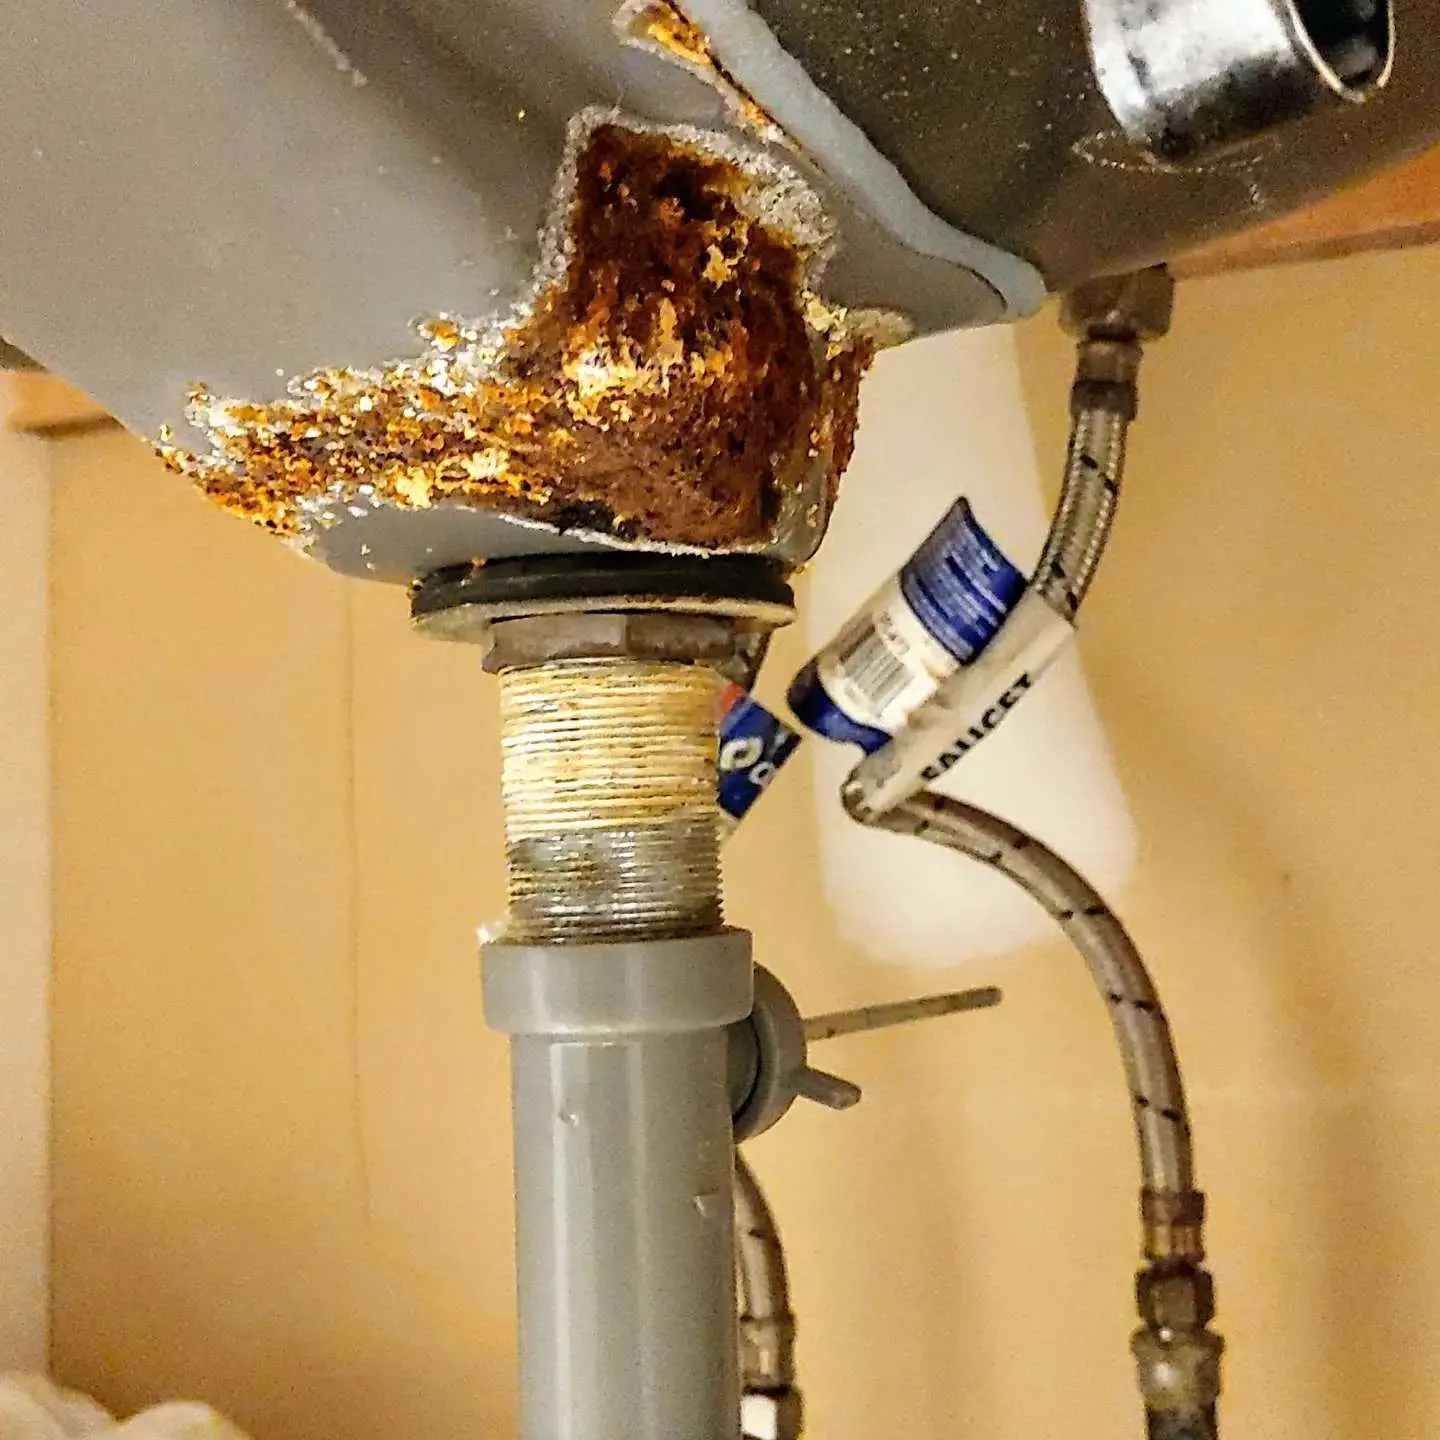
Both hot water pipes and cold water pipes freeze when exposed to extreme temperatures. Bulging or cracked pipe surfaces indicate advanced freezing that risks imminent bursting. Uninsulated pipes in unconditioned attics begin freezing when outside temperatures fall to 20 degrees Fahrenheit or below, according to 1996 research by Jeffrey R. Gordon at the Building Research Council, University of Illinois.
How Do You Locate the Frozen Section?
The frozen section exists between the last working faucet and the first non-working fixture in the plumbing line. Test each faucet systematically, starting from the water main and moving through the house. The blocked area lies between the final faucet producing water and the first fixture showing no flow.
Inspect visible pipes along exterior walls, in unheated areas, and within crawl spaces for frost accumulation. Common freeze locations include pipes running through uninsulated attics, exterior wall cavities, and garage spaces.
What Is the Safest Way to Thaw Frozen Pipes?
The 5 safest thawing methods involve gradual heat application using controlled heat sources: hair dryers, heating pads, heat lamps, heat tape, and warm towels wrapped around pipes. Open the affected faucet before applying heat to allow melting water and pressure to escape. Start heating near the open faucet and work gradually toward the frozen section.
This faucet-first technique prevents steam pressure buildup that causes pipe bursting. Gradual warming avoids thermal shock from rapid temperature changes. Move the heat source continuously along the pipe rather than concentrating heat on one spot. Drain pipes thaw using the same methods but lack internal pressure concerns since drain lines operate without constant water pressure.
Not every frozen pipe will rupture, and the outcome depends on several variables including pipe material and freeze duration. Understanding why frozen pipes always burst is a common misconception helps homeowners assess their actual risk level and respond appropriately.
Does a Hair Dryer Work for Frozen Pipes?
Yes, a hair dryer provides safe, controlled heat ideal for thawing accessible frozen pipes within 30-45 minutes. Maintain constant motion across the frozen section at approximately 6 inches from the pipe surface. Avoid contact with standing water or wet surfaces when operating electrical devices. Hair dryers deliver sufficient heat for copper and PVC pipes without reaching temperatures that cause damage.
Is Heat Tape Effective for Pipe Thawing?
Yes, heat tape delivers consistent, thermostat-controlled warmth that thaws pipes safely over 2-4 hours while preventing refreezing. Heat tape wraps around the pipe and plugs into an electrical outlet. Thermostat sensors regulate temperature automatically to maintain safe warming levels. Heat tape serves dual purposes: active thawing for current freezes and ongoing prevention for vulnerable pipe sections.
When Do Frozen Pipes Require Immediate Action?
Frozen pipes require immediate action when temperatures remain below 20 degrees Fahrenheit, when multiple fixtures lose water simultaneously, or when visible pipe bulging appears. Extended freezing lasting 2 days or more increases burst risk from sustained ice pressure expansion. Multiple frozen fixtures suggest widespread freezing requiring urgent response.
Visible swelling or bulging indicates ice expansion that precedes cracking. Quick intervention prevents progression from frozen blockage to burst pipe damage.
Toronto-area homeowners dealing with bulging pipes or signs of imminent rupture should not delay professional intervention. Emergency crews specializing in burst pipe water damage in Toronto respond rapidly to contain flooding and begin water extraction before structural damage compounds.
Should You Shut Off the Water Before Thawing?
Yes, shut off the main water valve before thawing when pipe bulging appears, a burst is suspected, or water stains appear on walls or ceilings. Locate the main water shutoff valve near the water meter or where the main line enters the building. Turn the valve clockwise to close and stop water supply.
Open the lowest faucet in the house to drain remaining water from the system. Single accessible frozen sections without visible damage signs allow thawing without shutoff.
How Do You Thaw Frozen Pipes in a Wall?
Pipes frozen inside walls thaw through indirect heat methods: increasing room temperature, aiming infrared lamps at the wall, or using heat cables through access points. Raise the thermostat to 75-80 degrees Fahrenheit to gradually warm wall cavities from interior heat. Position an infrared lamp 12-18 inches from the wall surface over the suspected freeze location.
Infrared heat penetrates drywall to warm enclosed pipe sections. Cutting a small access hole through drywall provides direct heat application access as a last resort. Watch for water stains, bulging drywall, or dripping as signs of hidden pipe bursting inside the wall cavity.
Can You Thaw Underground Pipes Without Excavation?
No, underground frozen pipes typically require professional intervention using specialized pipe thawing machines or excavation access. Professional plumbers use electric current pipe thawing equipment that passes current through the pipe to generate internal heat. Ground-penetrating heat application proves ineffective at depths below 12 inches. Excavation becomes necessary when thawing machines cannot access the frozen section or when burst repairs require pipe replacement.
How Do You Thaw Frozen Pipes in Mobile Homes and RVs?
Mobile home and RV pipes thaw using the same heat source methods, with special attention to skirting access, underbelly insulation, and heat tape installation on vulnerable lines. Remove skirting panels to access mobile home underbelly pipe sections. Position a portable space heater beneath the mobile home directed at frozen pipe areas.
RV and camper pipes benefit from internal cabinet heating and holding tank heater activation. Winterizing RV plumbing with antifreeze prevents freeze damage during storage. Mobile homes and RVs experience higher freezing vulnerability due to minimal insulation and elevated exposure to cold air beneath floor sections.
How Long Does It Take Frozen Pipes to Thaw?
Frozen pipes thaw in 30 minutes to 2 days depending on the heat source used, pipe accessibility, and ambient temperature.
| Thawing Method | Typical Timeline |
|---|---|
| Hair dryer | 30-45 minutes |
| Heat lamp | 1-2 hours |
| Heating pad | 2-4 hours |
| Heat tape | 2-4 hours |
| Thermostat increase | 4-8 hours |
| Natural thawing (above 32 degrees Fahrenheit) | 12-48 hours |
Active heat application accelerates thawing compared to waiting for natural temperature rise. Accessible pipes thaw faster than pipes concealed within walls or underground.
Will Frozen Pipes Thaw on Their Own?
Yes, frozen pipes thaw naturally when sustained temperatures rise above 32 degrees Fahrenheit, though this process takes 12-48 hours and increases burst risk from prolonged ice pressure. Ice expansion continues stressing pipe walls throughout the frozen period. Extended freezing allows microscopic cracks to develop at stress points. Active thawing reduces burst probability by minimizing total freeze duration.
What Should You Avoid When Thawing Frozen Pipes?
5 dangerous practices cause pipe bursts, fires, or toxic exposure during thawing attempts: open flames, propane torches, blowtorches, charcoal burners, and kerosene heaters.
Open flames create fire hazards near wooden studs, insulation, and flammable materials. Propane torches and blowtorches apply excessive concentrated heat causing thermal shock that cracks pipes. Charcoal burners and kerosene heaters generate carbon monoxide in enclosed spaces.
Rapid heating from any high-temperature source causes uneven expansion that splits pipe seams. Thawing too quickly traps steam pressure between the ice blockage and closed faucet. From 2024 through June 2025, over 20,000 frozen pipe claims were filed totaling more than $628 million in paid losses, with average claim payments exceeding $30,000, according to 2026 data published by State Farm.
If a pipe does rupture during thawing, knowing exactly what steps to take in the first minutes can prevent thousands of dollars in additional damage. Our emergency response guide on what to do when a pipe bursts covers the critical shutoff-document-call sequence.
Can Frozen Pipes Thaw Without Bursting?
Yes, frozen pipes thaw without bursting when heat applies gradually, the faucet remains open to relieve pressure, and no existing cracks have formed. Pressure relief through an open faucet allows expanding water and steam to escape during thawing. Inspect pipes after thawing for hairline cracks, wet spots, or mineral deposits indicating previous leakage. Gradual temperature increase prevents the thermal shock that causes immediate bursting.
Does Leaving Water Running Prevent Bursting?
Yes, keeping the faucet open during thawing allows melting water and pressure to escape, reducing burst probability by relieving ice expansion force. Moving water carries heat through the pipe while draining releases built-up pressure. Open faucets provide an escape route for steam generated as ice melts against warmer pipe sections.
What Should You Do If a Pipe Has Already Burst?
A burst pipe requires 4 immediate steps: shut off the main water valve, open faucets to drain remaining water, document the damage, and contact a licensed plumber.
Shut off the main water valve
Locate and close the valve immediately to stop water flow feeding the burst.
Open faucets to drain water
Open all faucets throughout the house to drain remaining water and reduce system pressure.
Document the damage
Photograph all visible water damage to walls, floors, and belongings for insurance documentation.
Contact a licensed plumber
Get professional repair assessment and pipe replacement for the burst section.
How Do You Prevent Pipes from Freezing Again?
6 prevention measures protect pipes from future freezing: insulation, heat tape, cabinet opening, faucet dripping, thermostat maintenance, and outdoor hose disconnection.
Install foam pipe sleeves on exposed pipes in unheated areas to prevent freezing.
Wrap thermostat-controlled heat tape on vulnerable exterior wall pipes for continuous protection.
Open kitchen and bathroom cabinet doors to allow warm air circulation around pipes.
Allow faucets to drip during extreme cold to maintain water movement and relieve pressure.
Keep indoor temperature at 55 degrees Fahrenheit minimum during cold periods.
Disconnect outdoor hoses and shut off exterior faucet supply lines before winter.
Complete pre-winter preparation before temperatures drop below freezing to protect vulnerable pipe sections.
Key Steps to Thaw Frozen Pipes Safely
Homeowners thaw frozen pipes safely by identifying the frozen section, applying gradual heat from faucet toward freeze point, and avoiding open flames that cause bursting. Safe thawing requires controlled heat sources like hair dryers, heating pads, and heat lamps applied with constant movement along the pipe.
Open the affected faucet before heating to relieve pressure as ice melts. Shut off the main water valve when visible bulging or burst signs appear. Prevent future freezing through pipe insulation, heat tape installation, and proper winterization practices. These methods protect plumbing systems and thaw frozen pipes safely without causing additional damage.
Ready to Get Started?
Get professional services in today. Call now for immediate assistance or get a free quote.
Professional Service
Trusted experts in your area
Quick Response
Fast and reliable service
Fully Licensed
Certified and insured professionals